Thursday, December 9, 2021

Crochet Microamigurumi Chipmunk Pattern

Here is a pattern for a micro chipmunk I just made. I couldn't get a good picture of it, but the actual chipmunk looks decently realistic.


Supplies:
1 skein of brown embroidery floss
white & black embroidery floss for accents
#12 crochet hook
Keychain ring (optional)

Head
3 sc in mc. - 3
Rnd 1: Inc around. -6
Rnd 2: (sc, inc)3 times. - 9
Rnd 3: [2 sc, inc] 3 times. - 12
Rnd 4: Sc evenly around. - 12
Rnd 5: [3 sc, inc] 3 times. - 15
Rnd 6: [4 sc, inc] 3 times. - 18
Rnd 7: [5 sc, inc] 3 times. - 21
Rnd 8: [6 sc, inc] 3 times. - 24
Rnds 9-10: Sc evenly around. - 24
Mark stitches for eyes between Rounds 9 and 10, 7 sts apart. Position eyes so the space between them is on a flat side of the head, giving the chipmunk a flat forehead and face.
Rnd 11: [2 sc, dec] 6 times. - 18
Stuff.
Rnd 12: [sc, dec] 6 times. - 12
Rnd 13: Dec 6 times. - 6
Finish off.

Ears: guestimate the proper positioning.
Insert the hook into the head in the stitch you want the ear, then:
All in 1st stitch: Attach thread by pulling up a sl st, ch 1, hdc, dc
In next stitch: dc, hdc, sl st, finish off
Repeat for the other ear.

Body - join each round
1. 4 sc in mc
2. Inc around - 8
3. (sc, inc)*4 - 12
4. (2 sc, inc)*4 - 16
5. 8 sc, (inc)*4, 4 sc - 20
6. 8 sc, (sc, inc)*2, (inc, sc)*2, 4 sc - 24
7. 8 sc, (2 sc, inc)*2, (inc, 2 sc)*2, 4 sc - 28
8-10. sc around - 28
11. 8 sc, (2 sc, dec)*2, (dec, 2 sc)*2, 4 sc - 24
12. sc around - 24
13. 8 sc, (sc, dec)*2, (dec, sc)*2, 4 sc - 20
14. sc around - 20
15. 8 sc, (dec)*4, 4 sc - 16
Stuff
Dec closed
Finish off, leaving a tail

Back Leg (make 2):
1. sc 3 in mc
2. inc around - 6
3. (sc, inc)*3 - 9
4. (2 sc, inc)*3 - 12
5. (3 sc, inc)*3 - 15
6-7. sc around - 15
Finish off but don't attach to body until foot is made.

Foot: keep placing the leg against the side of the body to make sure the foot goes the correct direction. It's easy to make the foot backwards because of rows 2-4
1. sc 4 in mc
2-4. sc, sc (going through both the previous round's stitch and a stitch of the last round of the leg), 2 sc
5. sc around
6. Ch 1, turn, flatten and 2 sc in each of the 2 stitches made (make sure it's flattened so the foot is flat against the floor, not sideways) - 4
7. Ch 1, turn, sc across, finish off
Sew leg onto body

Arm & hand (make 2):
1. 4 sc in mc
2-4. sc around - 4
5. Ch 1, flatten, 2 sc (going through both front & back stitches)
Paw#1 6. Turn, 2 sc in 1st st, 1 sc in 2nd st
Paw #2 6. Turn, 1 sc in 1st st, 2 sc in 2nd st
Finish off

Tail:
1. 4 sc in mc
2-10. sc around - 4
Finish off

Assemble chipmunk and embroider face.

Thursday, June 3, 2021

Baby Puppy Dog Binkie Pacifier Clip Crochet Pattern

Here is a pattern I created for a puppy dog paci clip.


back
Back


I used size 10 crochet thread and a size 10 hook.
You can make it as long or short as you want, but I made mine about 6" long plus the little loop at the end for the paci.

Face:
1. 6 SC in mc.
2. Inc around. - 12
3. (Inc, SC)*6 around - 18
4. (Inc, 2 sc)*6 - 24
5. (Inc, 3 sc)*6 - 30
6. (Inc, 4 SC)*6 - 36
7. (Inc, 5 SC)*6 - 42
8. (Inc, 6 SC)*3, SC, beginning in same st, insert hook, pull up loop, then pull yo through alligator clip rod (see photo) and finish sc. Repeat 7x, SC in same stitch as previous but don't crochet through the clip rod, (Inc, 6 SC)*2 - 48


Finish off

(This pattern is for the smile of the face near the clip. For the face flipped away from the clip, follow the pattern below this one.)
Ear: 2x
You'll start the ear in the 8th stitch from the last stitch you made around the clip rod.
For the right ear you'll be working from the front side of the face and for the left ear you'll be working from the back side.
In black,
Sl st, ch 1, 10 SC
turn, sk 1st st, sl st in next, SC in next 3, hdc, 2dc in next 2 st, 2 tc in next, 3tc+SC in last st
Sl st in base where 1st ear st started, turn, SC, 3 Inc, 10 sc, 2 SC in last + sl st in base.
For the Right ear, Finish off
For the Left ear, SC across so there aren't any white spaces. Should be about 8 st.


(This pattern is for the smile of the face flipped away from the clip.)
Ear:2x
Starting in 1st st after the clip,
Sc 11
Turn, ch 1, sl st & 3tc in 1st, 2 tc in next, 2 dc in next 2 st, hdc, sc in next 4 st, sl st, finish off


Chain:
1. Turn, (ch 3, sk 2, sl st)*3 - depending on how many stitches you had across, you may need to vary the stitches skipped. Just make sure you have 3 loops when you're finished.
2. Turn, puff stitch (as big as desired. I did 5 yo) in each loop, sl st in base of last loop.
3. Turn, 4 puff st across
4. Turn, 3 puff st across, sl st in side of previous row
Repeat 3 & 4 until desired length.
Paci Loop: Turn, sl st, sl st, ch as many as desired (30-40?), sl st in same st, sl st
Finish off, weave in ends, and embroider face.

Baby Bib Crochet Pattern

Here is a baby bib pattern I created. 
There are 2 versions. The 1st version (red, green, & white bib) was made with sc for the bib has a wider neck strap and the neck opening is a bit smaller. I did hdc for the bib part of version 2.
The dimensions for version 1 are:
Bib - 6.5" in diameter
Inside of neck opening - 3.25"

The dimensions for version 2 are:
Bib - 6.5" in diameter
Inside of neck opening - a little over 3.5"

Version 1:
I used medium weight size 4 cotton yarn and a size G/6/4.00mm hook


Be sure to join each round. (I forgot to, so the straps on the pictured bibs are a little lopsided)
1. In mc, SC 6
2. Inc around - 12
3. (SC, Inc)*6 - 18
4. (2 SC, Inc)*6 - 24
5. (3 sc, Inc)*6 - 30
6. (4 SC, Inc)*6 - 36
7. Ch 1 (5 hdc, Hdc Inc)*6 - 42
8. (6 hdc, hdc Inc)*6 - 48
9. (7 hdc, hdc Inc)*6 - 54
10. Ch 1, turn, (hdc Inc, 8 hdc)*5, hdc Inc
11. Ch 1, turn, 3 hdc in 1 st st, 9 hdc, (hdc Inc, 9 hdc)*4, 3 hdc in last st
Don't finish off.
Left strap:
1. Turn, ch 2, DC, 2 DC in next st, dc - 4
2. Ch 1, turn, sc across - 4
3. Ch 1, turn, 2 SC in 1st st, HDC, dc2tog - 4
4-13. Repeat rows 2-3
14. Ch 2, turn, dc2tog, hdc, 2 SC in last st - 4
15. Turn, ch 2, DC across - 4
16. Turn, sl st, DC, DC, sl st
Finish off

Right strap:
Attach yarn at the other corner, then:
1. ch 2, DC, 2 DC in next st, dc - 4
2. Ch 1, turn, sc across - 4
3. Ch 1, turn, 2 SC in 1st st, HDC, dc2tog - 4
4-13. Repeat rows 2-3
14. Ch 2, turn, dc2tog, hdc, 2 SC in last st - 4
15. Turn, ch 2, DC across - 4
16. Turn, sl st, DC, DC, sl st
Finish off and weave in ends.
Sew on snaps.

Version 2: 

Be sure to join each round. (I forgot to, so the straps on the pictured bibs are a little lopsided)
In mc, hdc 6
2. Inc around - 12
3. (HDC, Inc)*6 - 18
4. (2 HDC, Inc)*6 - 24
5. (3 HDC, Inc)*6 - 30
6. (4 HDC, Inc)*6 - 36
7. (5 hdc, Inc)*6 - 42
8. (6 hdc, Inc)*6 - 48
9. Ch 1, turn, (7 hdc, Inc)*5
10. Ch 1, turn, 3 hdc in 1st st, 8 hdc, (hdc, 8 hdc)*4, 3 hdc in last st
Don't finish off.
Left strap:
1. Turn, ch 2, dc in next 3 st - 3
2. Ch 1, turn, sc across -
3. Ch 1, turn, 2 SC in 1st st, dc2tog - 3
4-13. Repeat rows 2-3
14. Ch 2, turn, dc2tog, 2 SC in last st - 3
15. Turn, ch 2, DC across - 3
16. Turn, sl st, DC, sl st
Finish off

Right strap:
Attach yarn at the other corner, then:
1. ch 2, dc in next 3 st - 3
2. Ch 1, turn, sc across - 3
3. Ch 1, turn, 2 SC in 1st st, dc2tog - 3
4-13. Repeat rows 2-3
14. Ch 2, turn, dc2tog, 2 SC in last st - 3
15. Turn, ch 2, DC across - 3
16. Turn, sl st, DC, sl st
Finish off & weave in ends
Sew on snaps.

Semi-Circle or Handle for Future Projects Crochet Pattern


ch 6
1. In back loops, starting in the 3rd ch from hook, 4 dc - 4
2. From now on, crochet in both loops. Ch 2, turn, dc across - 4
3. ch 1, turn, sc across - 4
4. Ch 2, turn, 2 dc in 1st st, dc, dc2tog - 4
5-6. Repeat rows 3-4
7. Ch 1, turn, sc across - 4
8. Ch 1, turn, 2 hdc in 1st st, hdc, dc2tog- 4
9-10. Repeat rows 7-8
11. Ch 1, turn, sc across - 4
12. Ch 1, turn, 2 sc in 1st st, hdc, dc2tog - 4
13-18. (Repeat rows 11-12)*3
19. Ch 1, turn, sc across - 4
20. Ch 2, turn, hdc across - 4
21-39. - repeat rows 19-1 in reverse order (19, 18, 17, etc...)
finish off or continue with desired pattern

Teddy Bear or Lion Head Applique Crochet Pattern


This is a bear or lion head that I created when I was trying to make a different pattern. I decided to write it down so I have it for future reference.

*Stitches in [] are done all in 1 stitch.
*QC = quadruple crochet

1. 6 hdc in magic circle, join
2. ch 1, 2 hdc in each st around, join - 12
3. ch 1, (hdc, 2 hdc in next)*3, [hdc, sl st], [sl st, tc, qc, tc, sl st], [sl st, hdc], hdc, [hdc, sl st], [sl st, tc, qc, tc, sl st], sl st, finish off.

Friday, May 7, 2021

Crochet Borzoi Dog (or Collie, Greyhound, or Whippet)


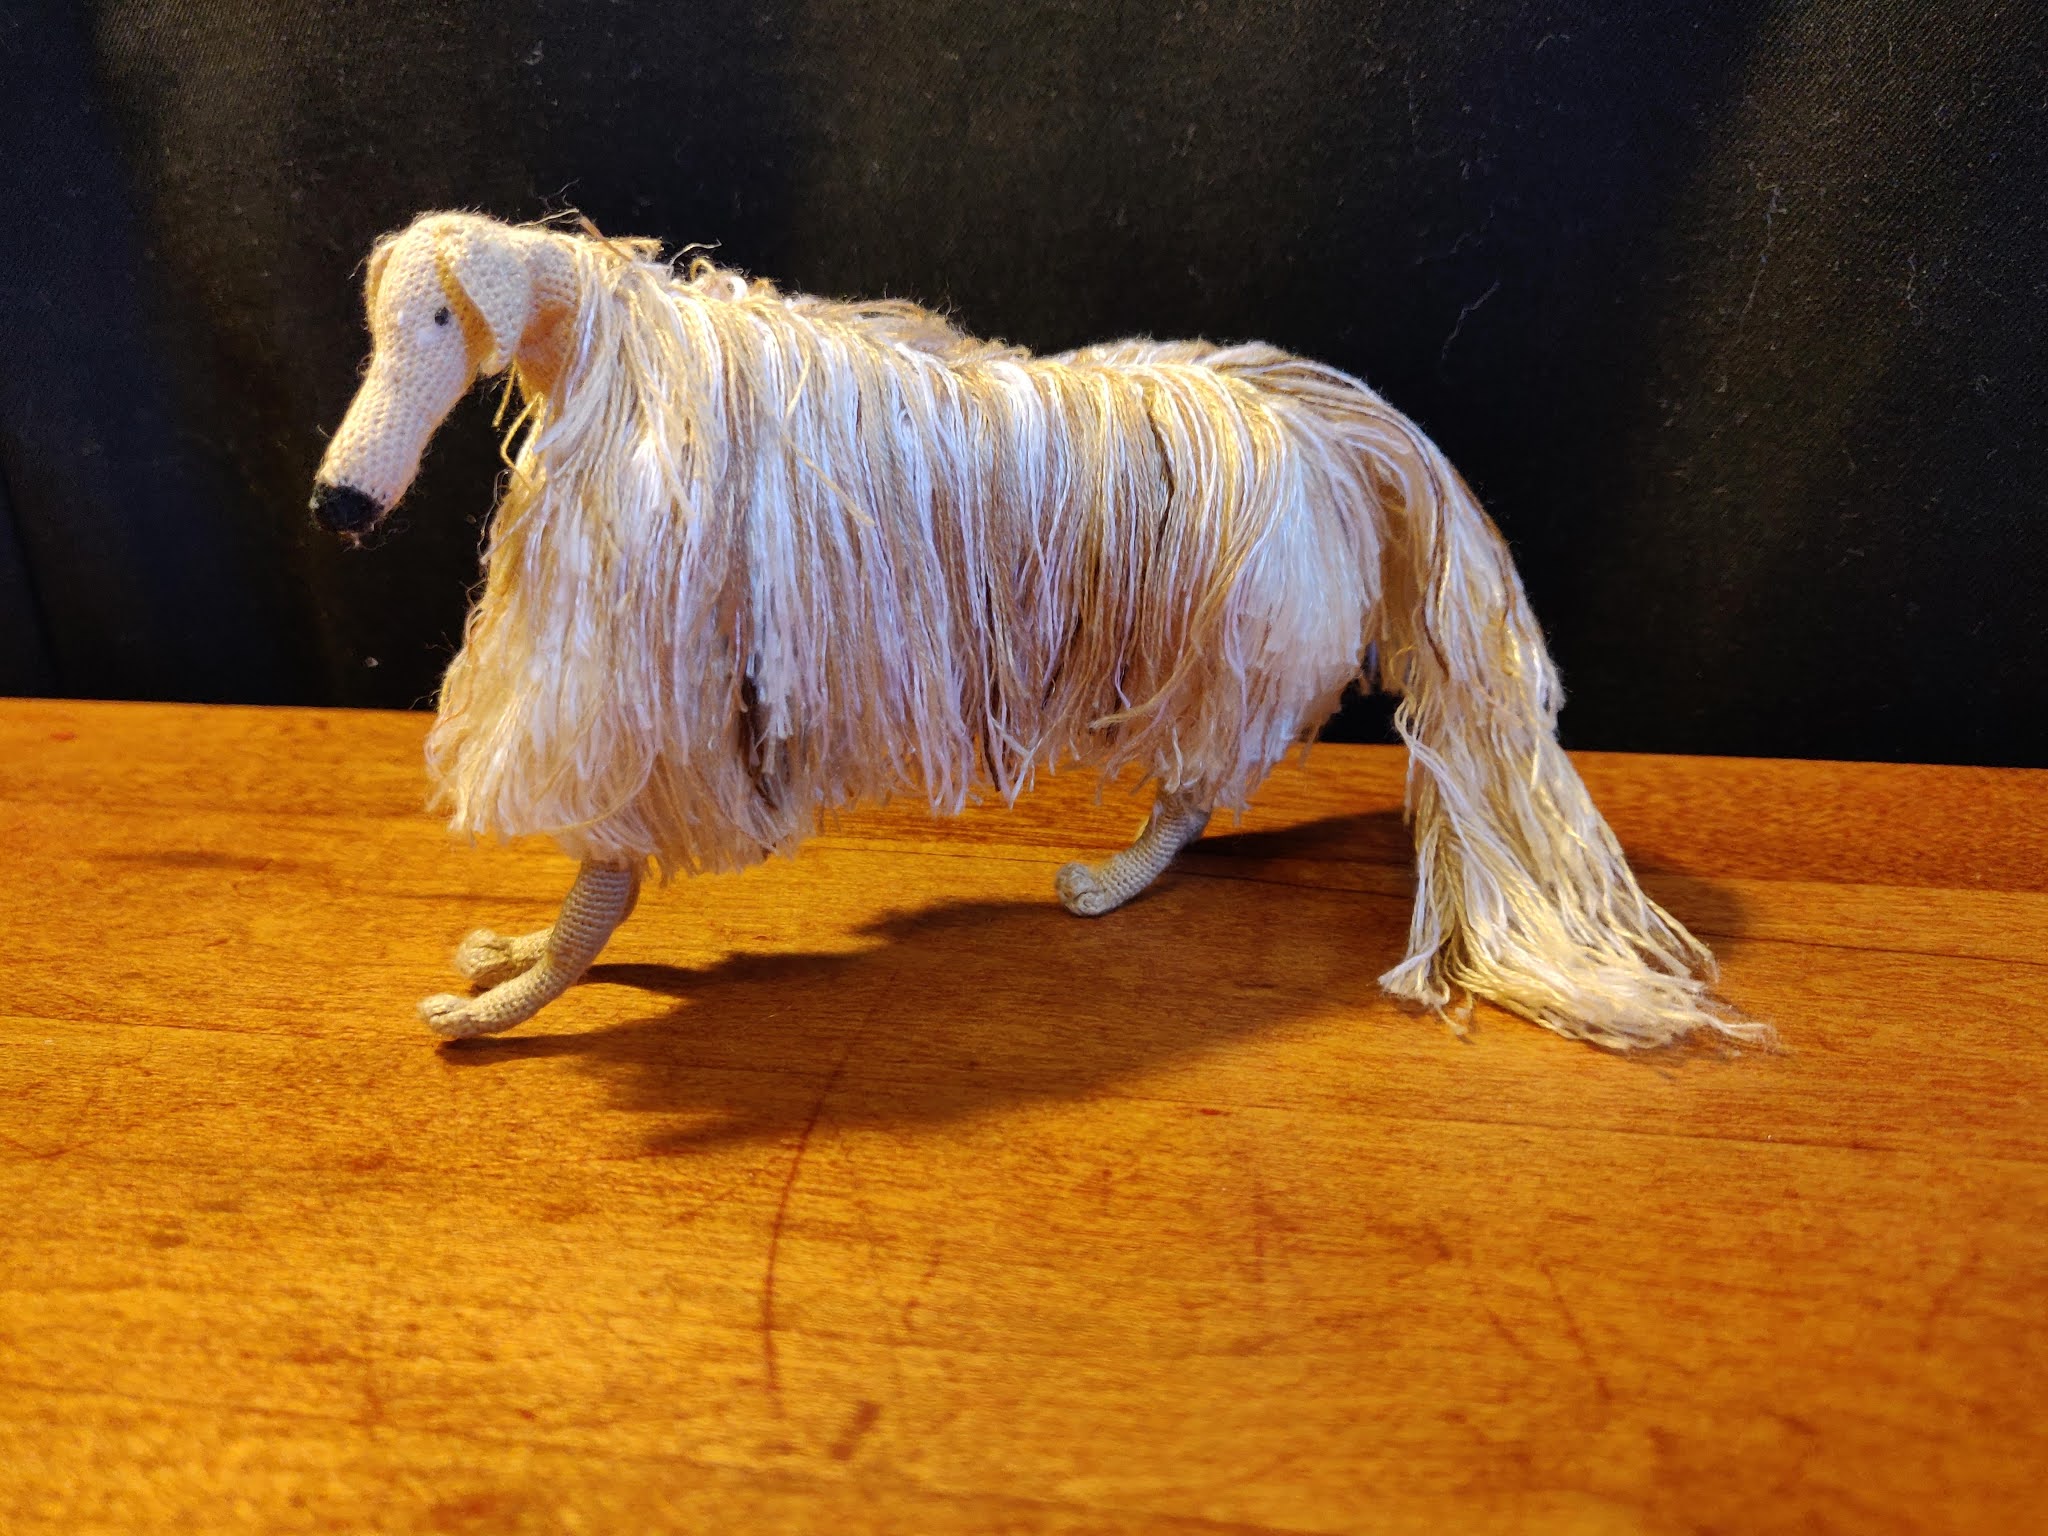
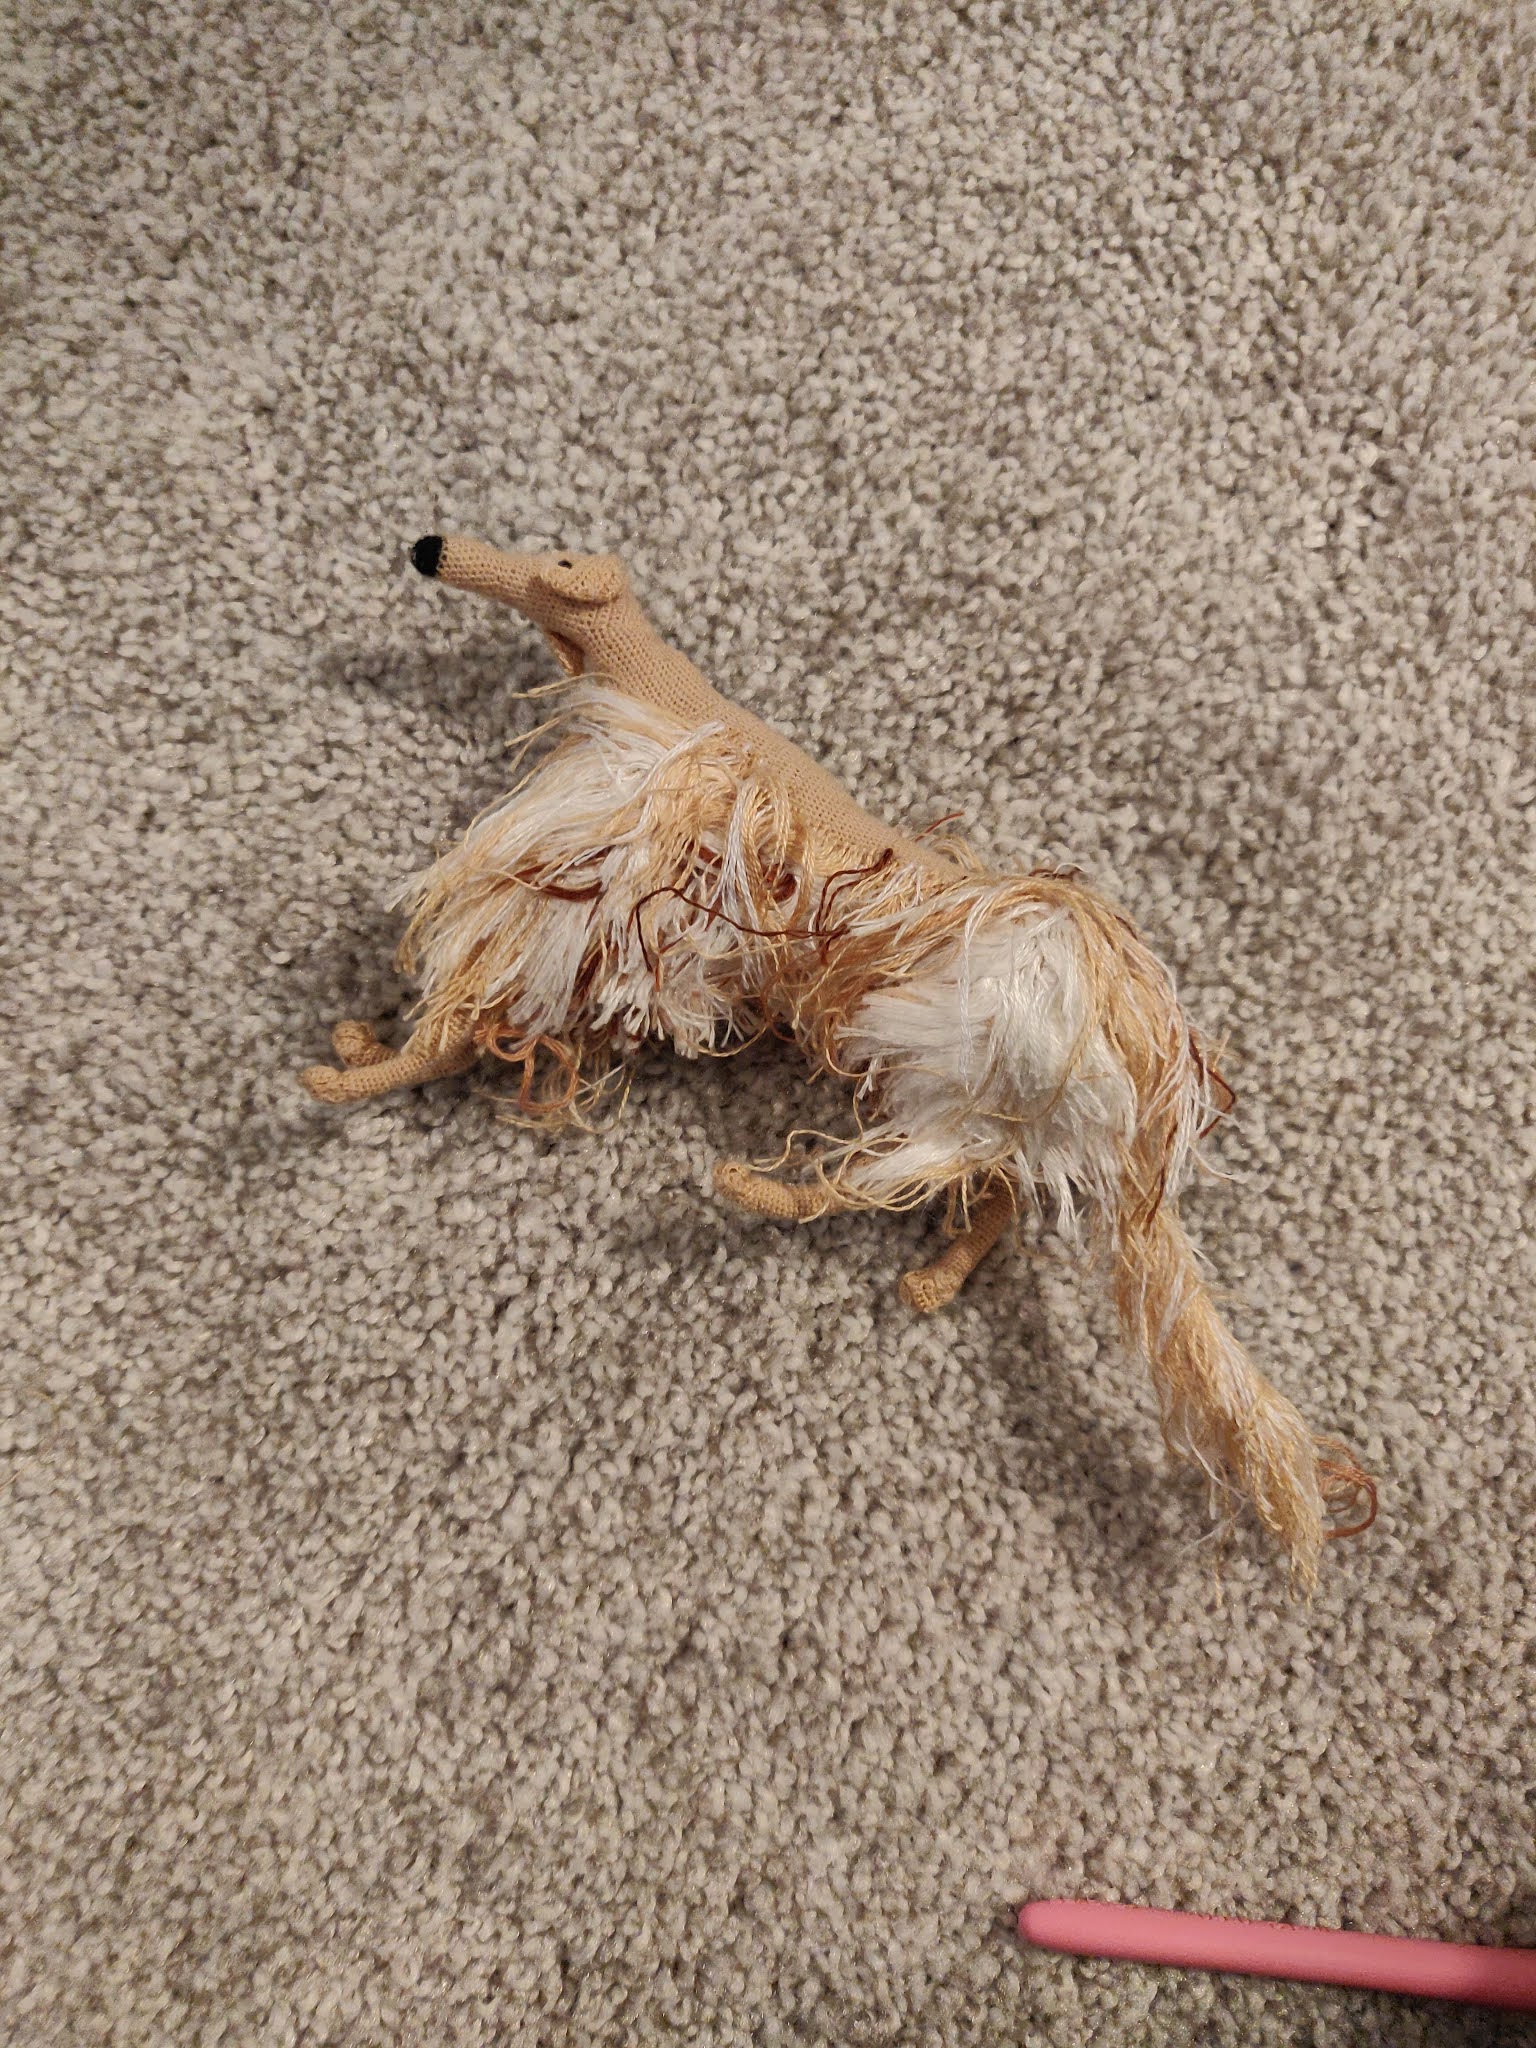
Here is a borzoi dog I made. The pattern I used was for a life sized dog, so this dog ended up being about 4” long. In total, there were approximately 30,000 stitches. If I was going to make another borzoi, I would probably choose a smaller pattern. :-)


Before the fur

After


This is the link to the pattern I used for my borzoi. It’s a greyhound pattern, but when I had it a completely assembled, I added fur to turn it into a borzoi. It would work for a collie dog as well.

I followed the pattern and used 1 strand of tan embroidery floss. *make sure you use the color thread that you would want the dog to be, because you don’t add additional fur to the head, ears, or feet.* I ended up using 3 skeins of tan embroidery floss for the dog part, then 2 skeins of white, 1 skein of tan, 1/2 skein of reddish, & 1/2 skein of darker brown for the fur.

For the borzoi part:

After the dog is completely assembled, begin at the bottom of the stomach and start adding fur. I added fur to about every other row. The lower part of the dog was pretty thick, so I could have probably added fur to every 3rd row for the lower part.

I just cut the fur into approximately 1.5” strips (for the lower part of the body the strands can be shorter, but as you work upwards, they will need to be longer). Insert the crochet hook, pull the thread partway through, then pull the ends through the loop. Pull tight. (Pictures below)